Quickmail will allow instructors and teaching assistants (and students, if allowed by the instructor) to send email to course participants. Instructors may find this a convenient form of communication alternate to Course Announcements.
Emails sent from Quickmail are sent immediately, and unlike Course Announcement, they are not affect by forum preference settings for receiving emails as daily digests.
Adding the Quickmail Block
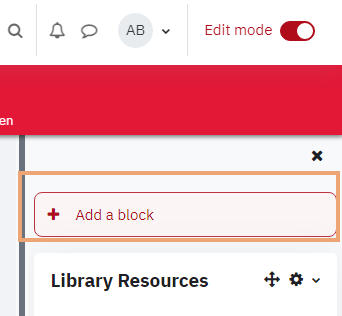
- Click Edit mode toggle to turn it on at the top right of the course home page.

- Click on the Block drawer toggle on the right of the course home page to open the Block drawer.

- Click the Add a block button.
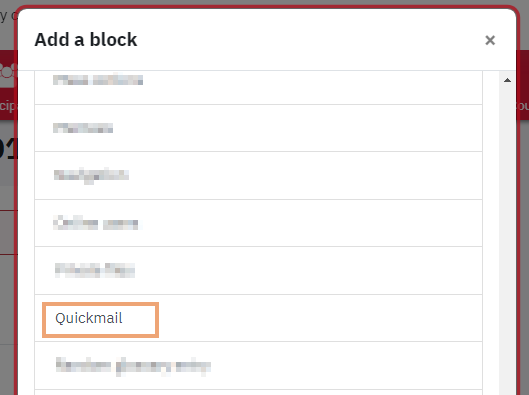
- Select Quickmail from the list of blocks.
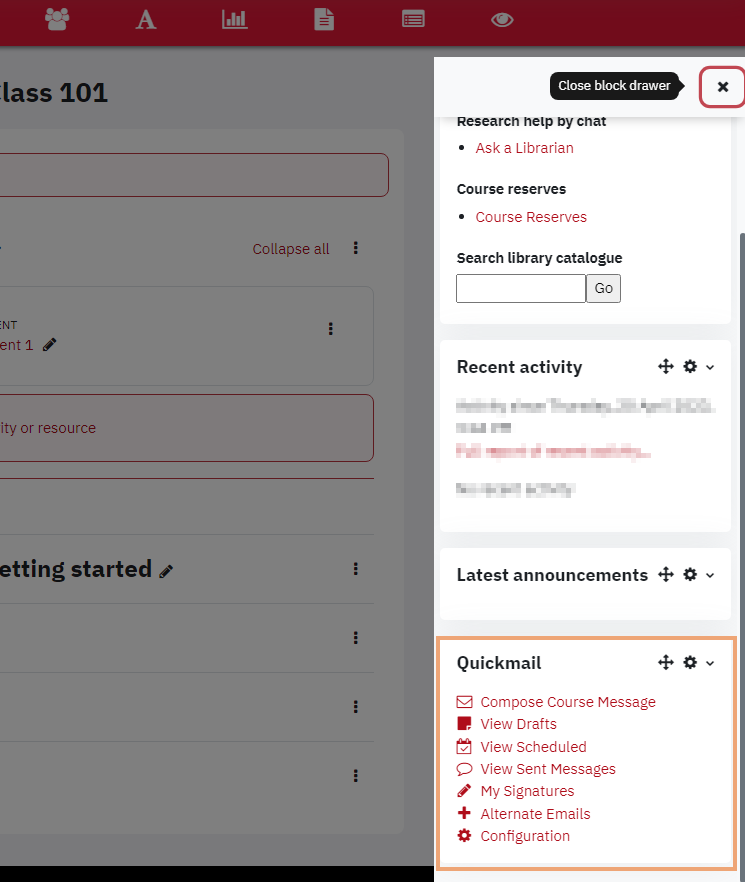
- The Quickmail block will appear on the bottom of the block drawer. You can move the Quickmail block if you desire by clicking and dragging on the blue cross arrows in the corner of the block.
Send a Message Using Quickmail
By default, instructors and TAs enrolled in the course can use Quickmail to send messaged to the students. In addition, Instructors can configure Quickmail to allow student to use this block as well. To send an email message using Quickmail, in the Quicmail block:
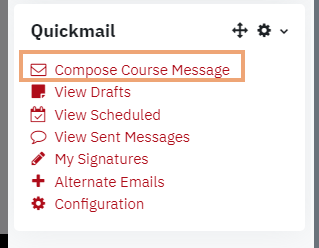
- Click Compose Course Message to open the Quickmail Compose Course Message page.
- Select recipients of the message in the To field by selecting a specific role of the recipients in the course or by typing or selecting each recipient one by one. To include all members of the course, select All in course from the filter choice. If you are using groups in your course, you will be able to select them as well.
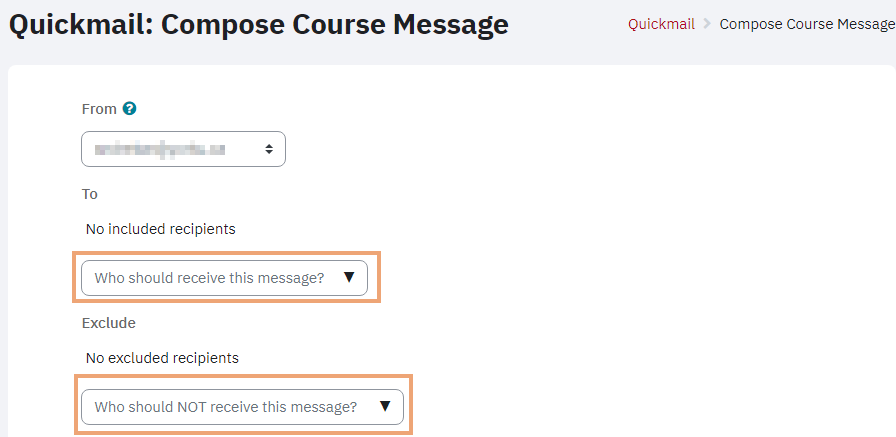
- Similarly, you can also limit potential recipients, if required, by selecting a role from Exclude filter menu.
- To remove a selected recipient, you can simply click on ‘X’ next to the recipient’s name.
- Type a Subject for the message.
- In the body, type your message. You can use the editor tools at the top to format your message.
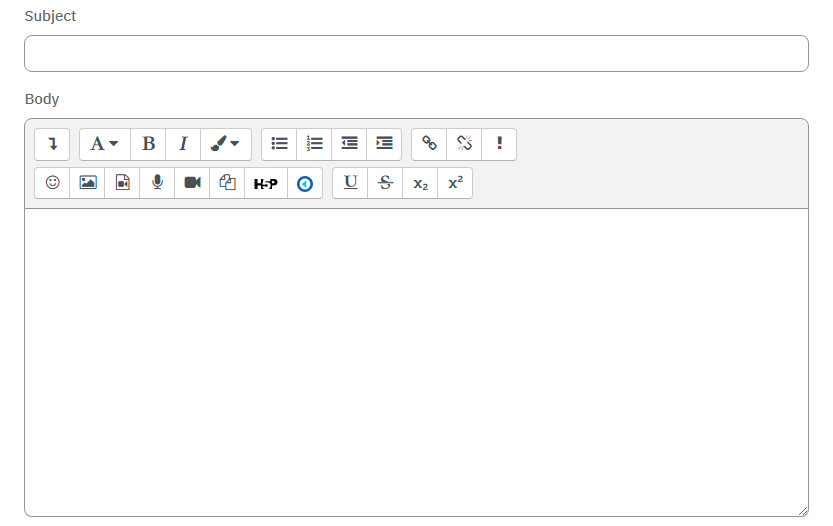
- You can use the supported user data fields to add them to your message. If you want to address your students by their first name, you can use [:firstname:]. A list of supported fields that can used in the message body are displayed directly beneath the editor. These include the following:
[:firstname:], [:lastname:], [:fullname:], [:middlename:], [:email:], [:alternatename:], [:coursefullname:], [:courseshortname:], [:courseidnumber:], [:coursesummary:],[:coursestartdate:], [:courseenddate:], [:courselink:], [:courselastaccess:], [:studentstartdate:], [:studentenddate:]
- To add an attachment, you have two options.
Option 1: Use the icons above the Attachment area. Click Add for adding files, and.or Create folder to organize the files. You can select a file from your file storage area in the eClass course or upload a file from your computer. Once you have found the file you want to attach, you need to select the Choose link in the Action menu to finalize the attachment.
Option 2: You can drag and drop file into the Attachment box from your desktop. Attached files will be sent and received as link to download in the .Zip format.
The maximum size of the attachment is determined by the course upload limit.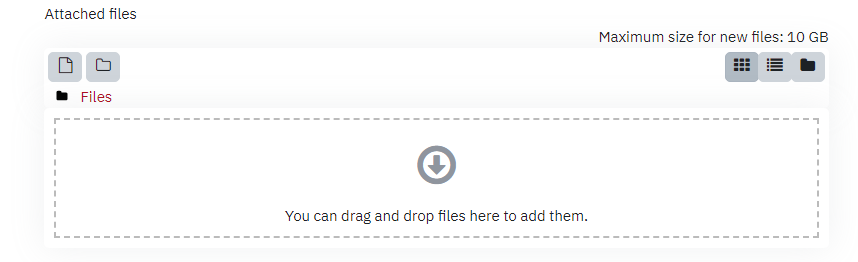
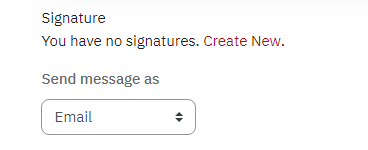
- If you want to attach a signature, you can select from the Signature drop-down option. Otherwise you can create one.
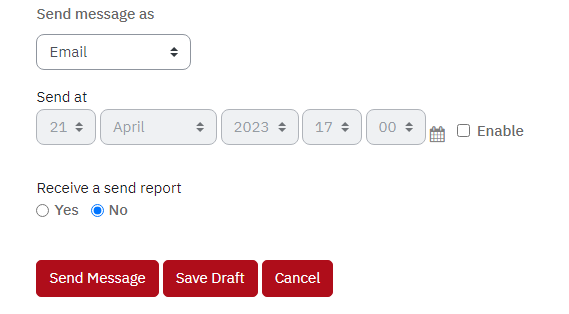
- You can opt to send the message as an Email or a Moodle message by selecting Moodle message. Any message will appear in the eClass Messaging for the recipient.
- You can select to send the message at a future date by enabling the Sent at by selecting the checkbox next to Enable on the right. This will allow you to select a date and time you want to send the message.
- To receive a copy of the message, select Yes for Receive a sent report. The default is No but you can change the default to Yes in the Quickmail configuration page.
- To send the message, click on the Send Message button at the bottom of the page. The message will be sent and you will return to your course home page. If you are not prepared to send the message, you can opt to save a draft by clicking Save Draft button.
If you save a draft, you will return to your course home page with a message at the top indicating a draft has been saved.
Click Cancel to return to your course home page without saving your message.
Viewing Draft and Continue editing a draft email
You can edit any draft email to edit and send the message.
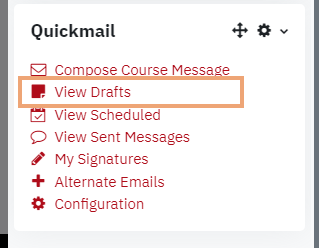
- In the Quickmail block, select View Drafts.
- This will open a list of unsent emails ordered by the date they were saved.
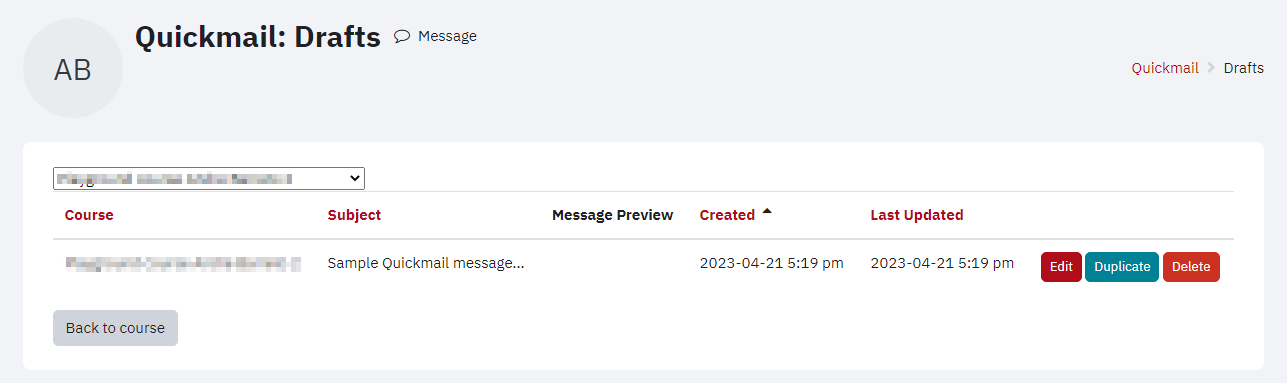
- You can click on the Edit button to open your message to continue making changes. You can also duplicate an existing message to make a copy or click on Delete button to delete the message permanently.
- To return back to your course home page, you can click on the Back to course button at the bottom of the page.
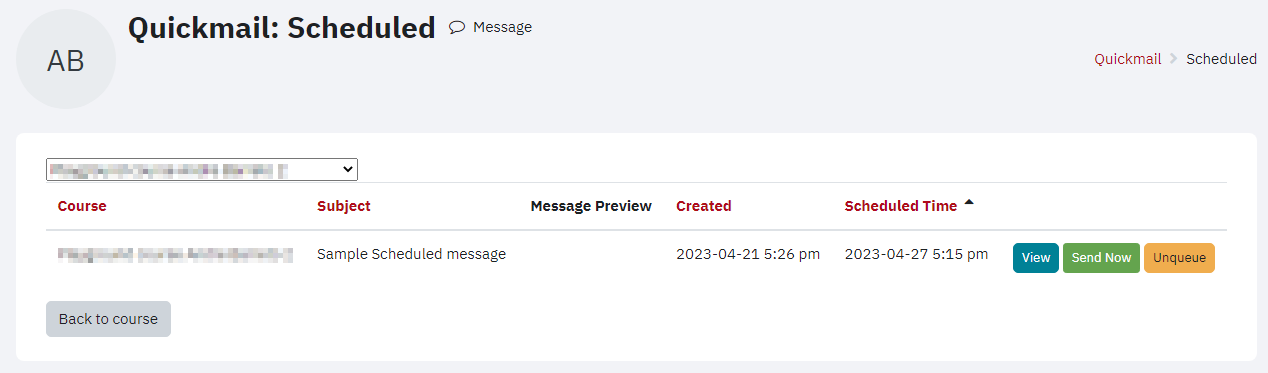
View scheduled message
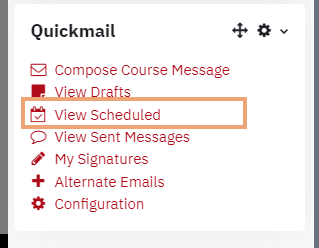
- If you have scheduled a message to be sent on a future date or time, you can view them by clicking View Scheduled link in the Quickmail block. This will display a list of scheduled messages.
- You can opt to View, Send the message immediately (Send Now) or remove the scheduled message from being sent by clicking Unqueue option.
- To return back to your course home page, you can click on the Back to course button at the bottom of the page.
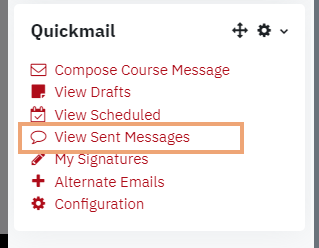
View Sent Messages
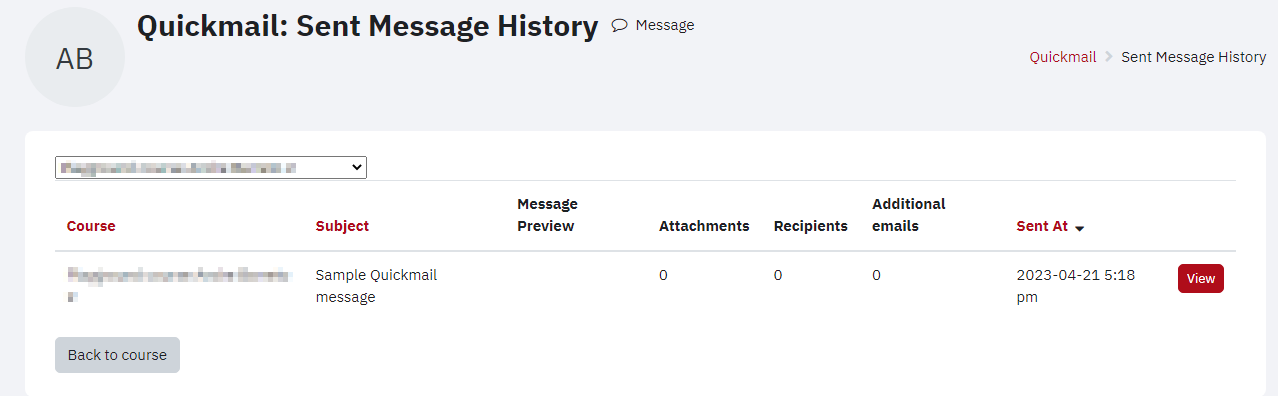
- To view messages sent previously, you can click View Sent Messages link in the QuickMail block. This will display a list of messages sent previously.
- To view any message sent previously, you can click View button on the right.
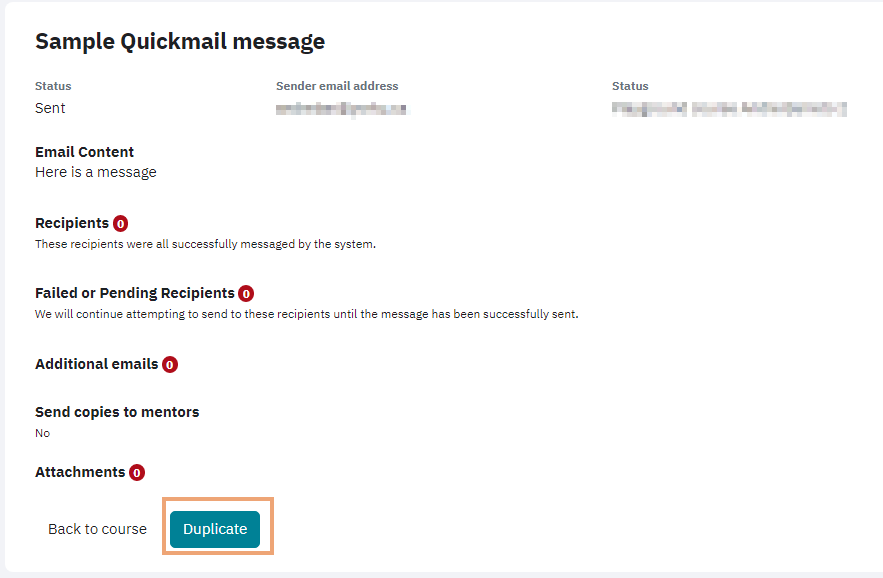
- While viewing any message, you can duplicate the message by clicking on the Duplicate button at the bottom of the message. The duplicated message can be accessed from View Drafts link in the Quickmail block.
Create a (optional) Signature
You can include a signature in your message automatically if you have created a signature in Quickmail. To create a signature,
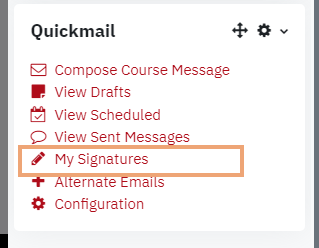
- In the Quickmail block, click My Signatures link. The signatures page will open.
- Enter a title for the signature, which will allow you to differentiate from another signature. This will help you find the signature when composing a Quickmail message.
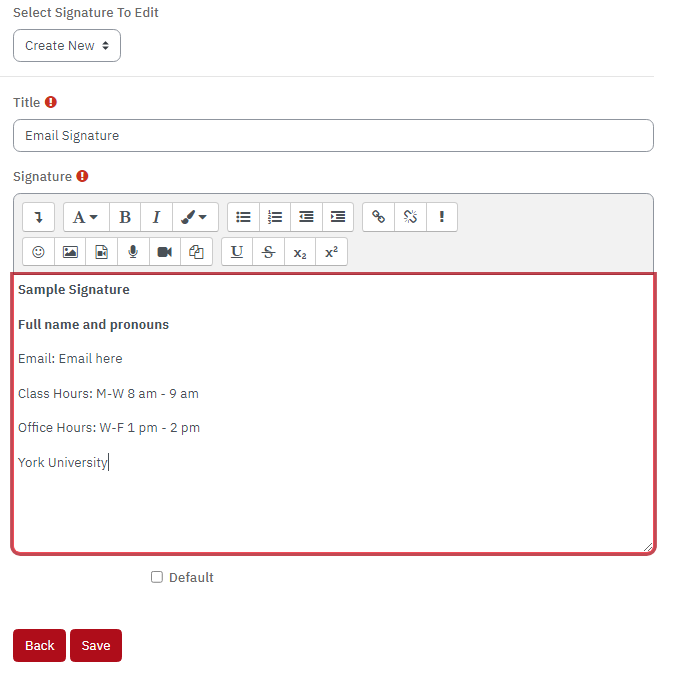
- In the Signature box, enter the text you want to appear at the bottom of the message.
- To make this your default signature, select the checkbox at the bottom next to Default.
- Click Save at the bottom to save the signature. This will display Changes Saved message confirming the changes made.

- You will then go back to the page with an option to update or delete the signature.
Configuration
Quickmail configuration will allow you to enable students to use this block.
1. Click on the Configuration link in the Quickmail block to open the configuration page.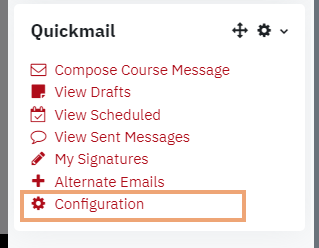
2. To allow students to use Quickmail, select Yes (No is the default)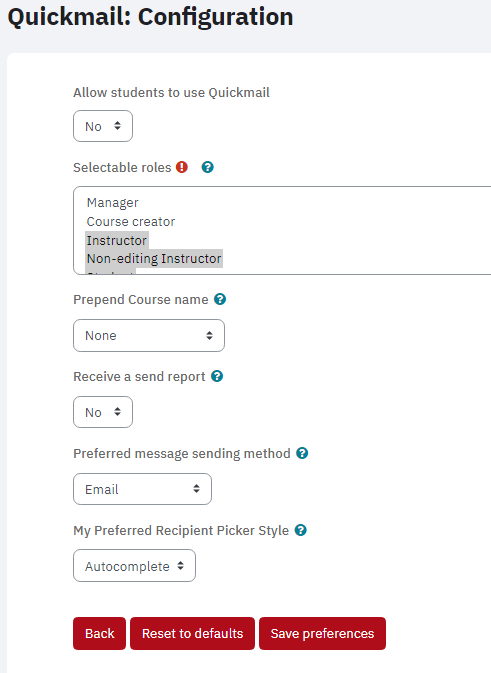
3. Select any applicable role that is available for selection while composing the message
4. Prepend course name, adds course identifying information at the beginning of the subject line. You can select from ID number, short name and full name
5. If you wish to receive a sent report by default, select Yes for Receive a send report
6. You can select the default in the Preferred message sending method drop-down option. Email is selected by default.
7. My preferred recipient picker style will help you determine how you will select the recipient while composing a message. By default, this is set to Autocomplete. You can also change this to Multiselect, if you wish to select more than one user at the same time.