The Menu/Tab course format provides a gridlike, adjustable display of your course content.

To enable Menu/Tab format in your course,
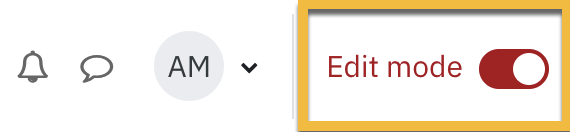
- While on your main course page turn Edit mode on located in the upper right corner
- Click on Settings in the top row

- Scroll down to the Course format section and expand to view the options. Select Menu/Tab from the dropdown menu.

Some notable parameters:
- Number of columns: Your current course Topics or Weeks will become grid items. This option allows you to select how many grid items, or columns, you want per row. The default is 3.
- Top section collapsed: Section 0 or the top section - This option either has the content closed or open when you enter the course.
Additional tips may be viewed by hovering over the blue (?) beside the parameter

How to set up your course content to work with the Menu/Tab format
Adding content to Section 0
You will notice that when you enter your course there are some default sections, and at the top, the Section 0 (formerly known as "Start") section:
To add content to this section:
- Toggle the Edit mode button located in the top right corner.
- Expand Section 0 by clicking on the downwards pointing arrow (outlined in orange above)
- Scroll down and select Add an activity or resource
- Add the required resources.
Adding content to remaining Sections
To add content to one of the other sections, turn editing on and click on one of thm. Scroll down to the + icon, press it, and select Activity or resource. You can use these guidelines to help you add content.

Once you disable Edit mode, your grids will reappear. Each box represents a Topic title that can be edited and have activities added to it.
Adding tabs to the menu/tab section
Menu/Tab supports tabs under sections, like this example here:
In order to do this, you'll need to use subsections. Here's how:
- Go into the section you want to add the tabs to
- Turn on Edit mode

- Click on the + icon at the bottom of the list, and select Subsection.

-
New Subsection will appear. To edit the title and add a description, click on the ellipses (three dots) and select Edit settings:

- From here, give the section an appropriate name, and description if you want. Don't forget to Save changes when you're done.
- Turn off Edit mode to see the new tab.
- To add activities to it, within the section, turn on edit mode. Find the new tab and click Add an activity or resource.
- You can add more tabs as needed.