The wiki is a page or set of pages where students can add content collaboratively as a whole class or in groups. A wiki is a set of web pages with content and links organized similarly to a Web site. Students can add content to pages, edit what other students have written and add pages. The instructor can use the History function to see exactly what content each student added or changed.
Wikis lend themselves well to group projects that require student to collaborate on specific tasks. Examples might include: brainstorming area for group work, problem-solving task, lecture or review notes, and resource lists.
Adding a Wiki to your eClass Course
Follow the steps below to add a Wiki to one or more of the sections of the course.
- Click Turn editing on at the top right of the course home page.
- Click Add an activity or resource in the section where you would like the wiki to appear.

- Select Wiki in the pop-up window. You will be taken to the page's configuration settings.
Configuring a Wiki
- Click Expand all if you wish to expand each of the sections and reveal all options.
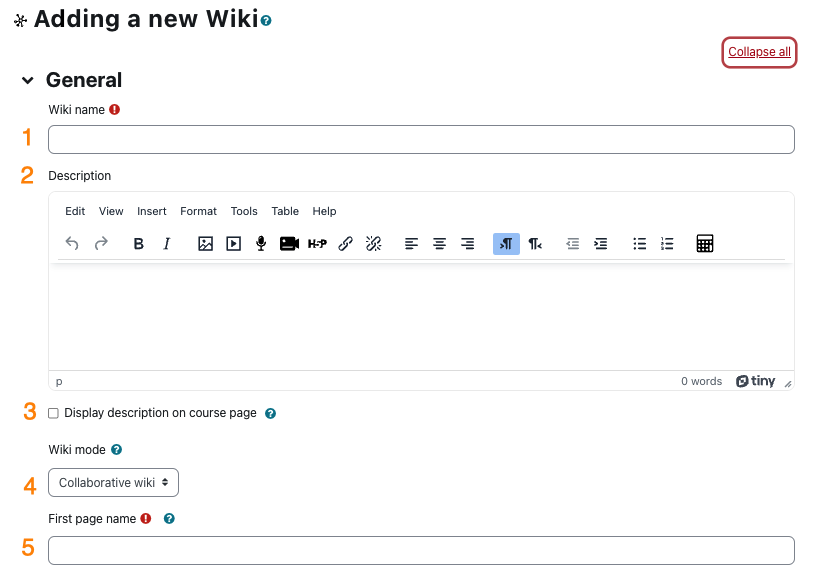
General
- Enter the title in the Wiki name field. This name will appear as a link to access the wiki on the course homepage.
- Enter the instructions in the Description text box.
- Place a checkmark next to the Display description on course page checkbox to make it visible on the course home page. The description will display directly below the link and on the Wiki page.
- Select the Wiki mode from the drop-down list.
- Collaborative wiki is one wiki that all students work on collaboratively. If groups are enabled, each group will have its own wiki.
- Individual wiki has each student working individually on thier own wiki. Only the instructor will be able to see each student's wiki.
- Enter the mandatory First page name. This is required to make the first page of the wiki, where students will be able to add content and link to other pages they create. For example, the first page name could be "Home Page" Choose carefully, as this entry cannot be renamed.

Common Module Settings
These settings relate to how certain activities and resources are displayed and/or made available to students in either groups or groupings.
- Use the Availability setting to make the wiki visible to students on the coure homepage. Select Show on course page to make the activity visible to students on the course homepage, Hide on course page to hide the link on the homepage, or Make available but don't show on course page which will enable you to link the activity but not have it appear on the course page.
- If groups have been configured in your course, select the appropriate Group mode and Grouping settings.
Restrict Access
Restrict access options allow you to set restrictions on an activity or resource by date & time, or by conditions related to previous activities.
- Set conditions for activity completion as required. Refer to the How to add/remove Access Restriction in eClass training page for setting up restriction criteria.
Click Save and return to course to add the Journal activity to the course.