If you need to keep a copy of your Adobe Connect recordings, you must download and save them locally to your device as MP4 files. Once you have the MP4 file on your local device, you may share them with others by adding them to our video management platform, Panopto. For detail information about adding videos to Panopto please refer to How to upload existing video files to Panopto?
How can I save a copy of an Adobe Connect meeting recording for ‘offline’ use?
Please Note: Due to the nature of how Adobe Connect meetings are made and replayed, saving the recording on your local machine would require a real-time replay of the meeting. This means if your recorded meeting is 10 minutes long, it will take 10 minutes for the replay and recording to complete. As such, it is key for you to know the meeting’s duration, so you can set a timer and come back to the computer closer to the end time, so that you can save the video.
- Log in to Adobe Connect web portal at http://connect.yulearn.yorku.ca
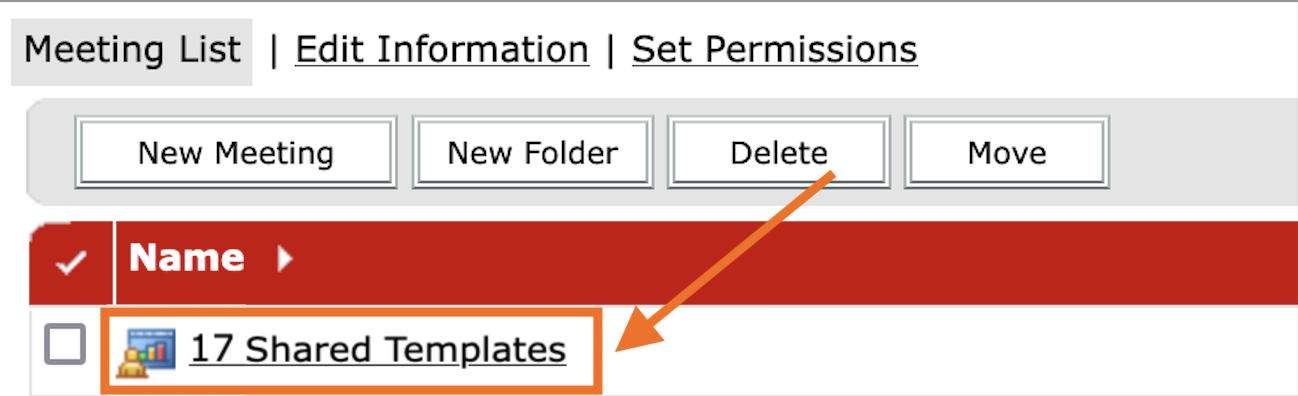
- On the top banner, click on Meetings

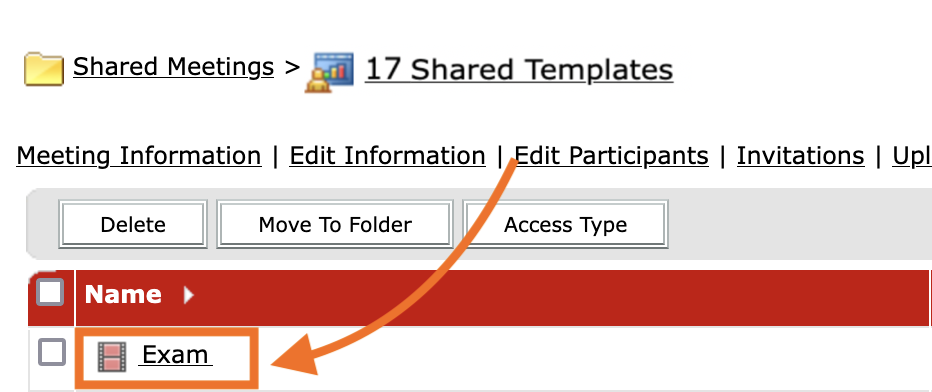
- Click on the meeting you wish to make offline
- Click on Recordings

- List of all recordings will be displayed
- Click on the recording you wish to make offline
- Make note of the recording duration

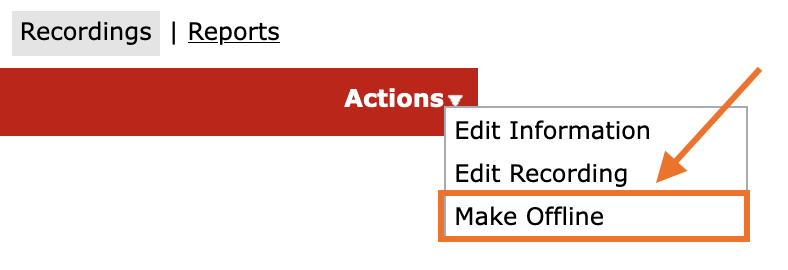
- Click on Actions

- Click on Make Offline from the pop up menu
- Your adobe meeting will open and a message will pop up providing you information about how to proceed with local recording
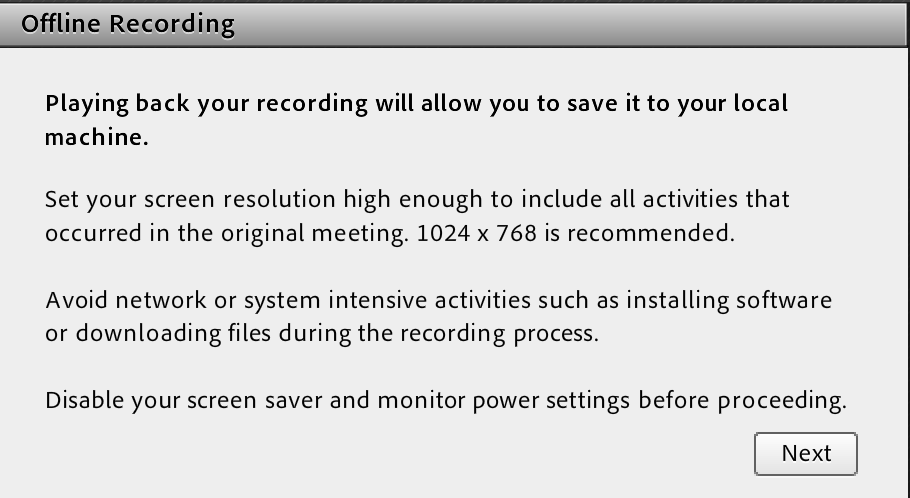
- Follow the instructions and when ready click Next
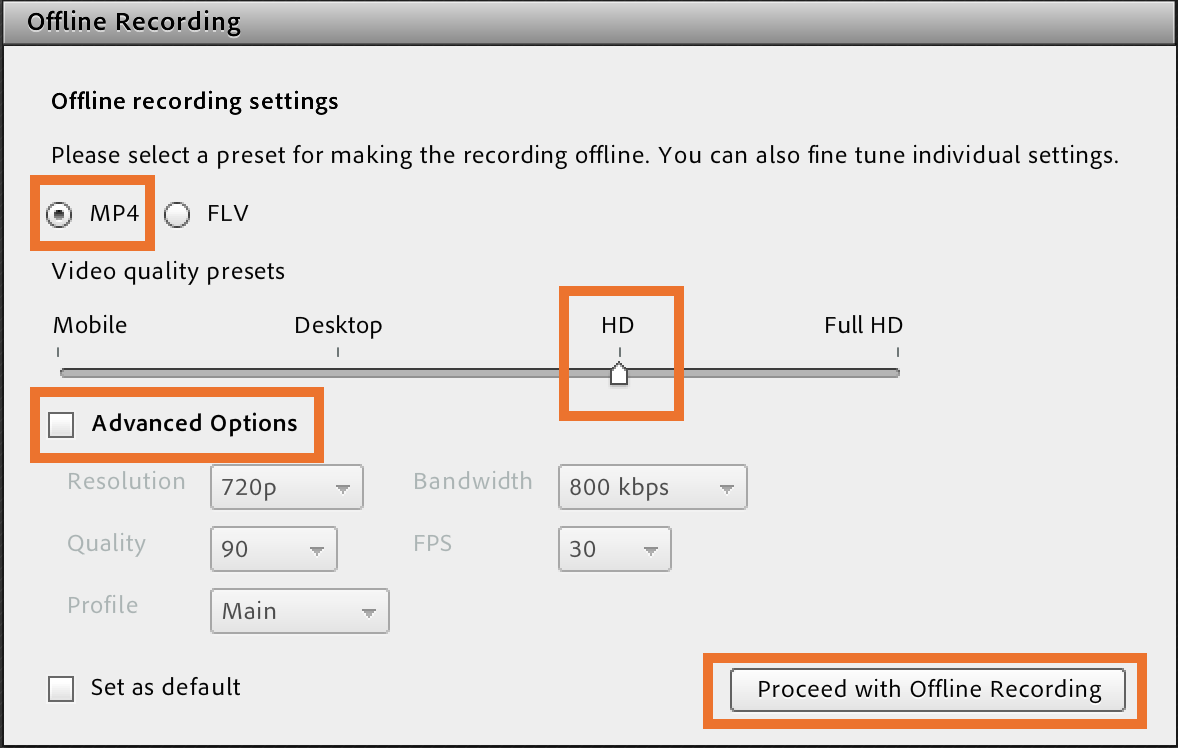
- The Offline Recording Setting options appear, select MP4 format, HD quality, leave the Advanced Options unchecked and click on Proceed with Offline Recording button
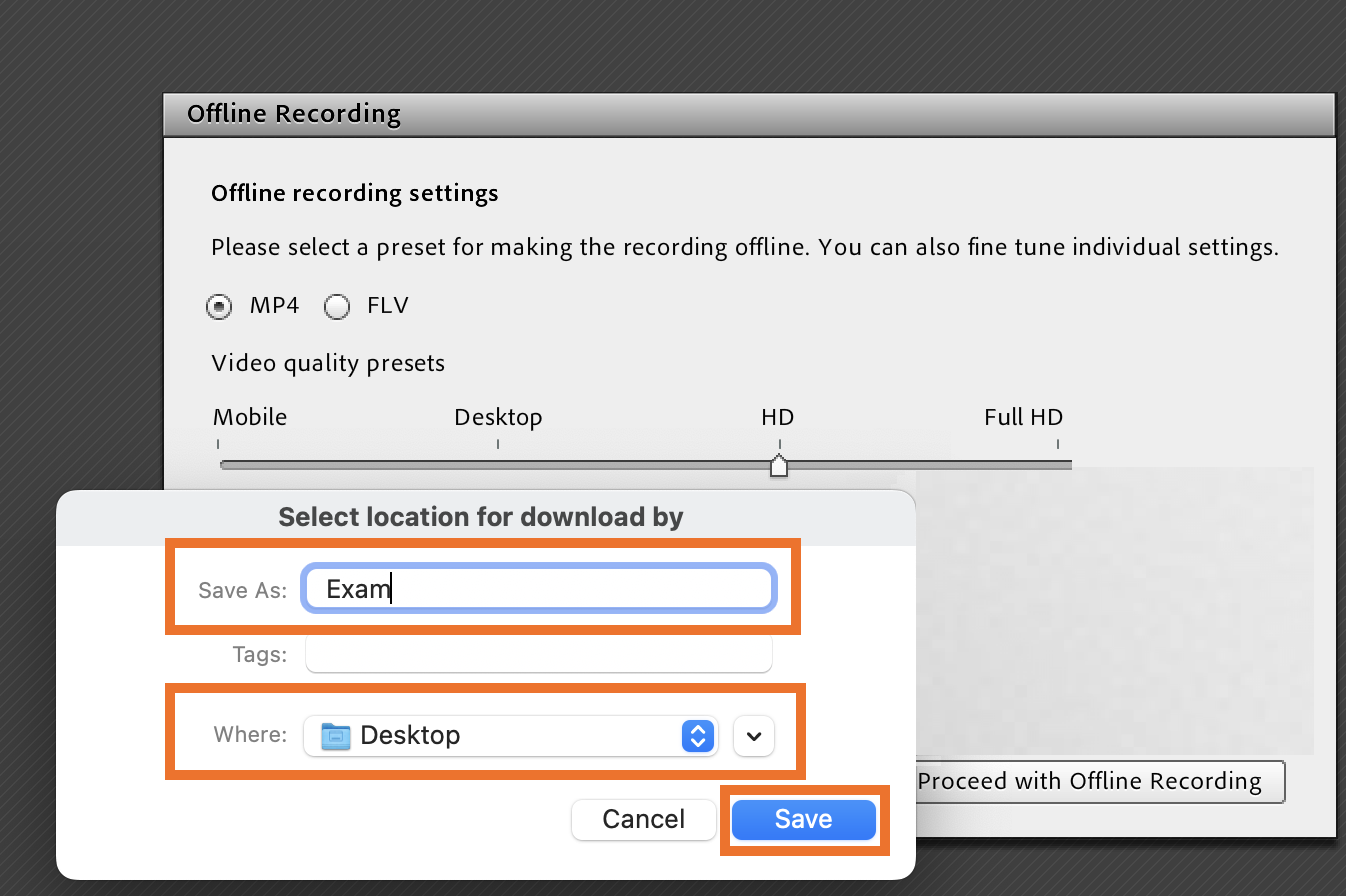
- The selection location window pops up, pre-populated with your recording name, feel free to update the file name and select a location on your local machine where you wish to save this recording. Once ready click on Save
- Your recording will be played back - at the same time it is being recorded to your local machine. The recording duration you have noted earlier indicates how long this process will take
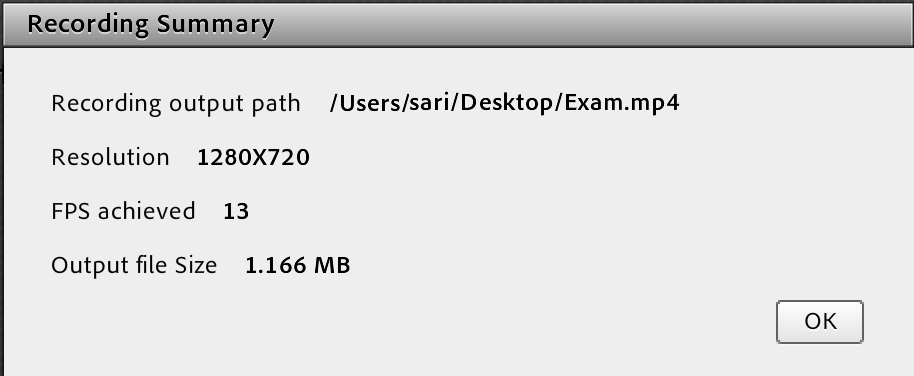
- Once the recording has fully played back, the Recording Summary pop up opens, providing you with some information about this recording, ensure to make note of this as it provides you the location of this recording and click Ok when ready to proceed
- The recording has been saved on your machine and you may access it.