The journal activity is a way that students can submit private text to the instructor that can later be revised after instructor feedback. An instructor can set the amount of time for which the activity is open for revisions. Instructors can also optionally provide a grade. Students may not attach any files or other content to a journal entry; students enter text directly into the text editor. If allowed by the instructor, students will also be able to attach images to their journal.
The Journal activity is best-suited for short assignments where students will be refining their entries based on instructor feedback. Because the entries of each student are displayed on a single page, it makes reviewing and grading of the entries convenient for the instructor.
The Journal activity provides one entry for each student. If you would like students to submit multiple journal entries, you will need to add multiple Journal activities, which can be done easily by duplicating the first activity.
Adding a Journal Activity to your eClass Course
Follow the steps below to add a Journal to one or more of the sections of the course.
- Click Turn editing on at the top right of the course home page.
- Click Activity or resource in the section where you would like the activity to appear.
- Search for Journal in the textbox, find the activity Journal, and then click Add. The Journal settings page appears.

Configuring Journal
- Click Expand all to expand each of the sections and reveal the options.
General
- Enter the title in the Journal name field. This name will appear as a link to access the Journal activity on the course main page.

- Enter the instructions in the Journal question text box.
The box can be expanded by clicking and dragging the bottom right corner outwards. To make more editing options available, click the
 button to expand the toolbar.
 - Select the number of Days available from the drop-down list. The options in this drop-down are in relation to the course start date, as specified in the course settings. Students are able to make changes to their entries until the specified time, even after the instructor has provided feedback. You can select Always open, and use the Restrict access options to limit access to the activity after grading.
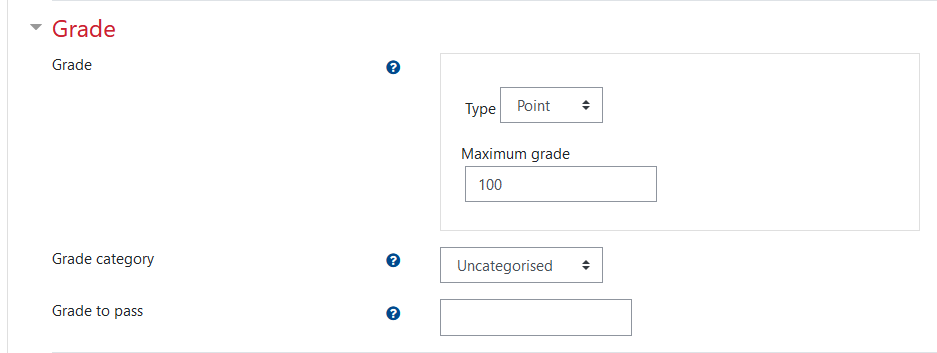
Grade
- Select the Grade from the drop-down list. You can also choose to have no grade.
- Select a Grade category from the drop-down list if applicable.
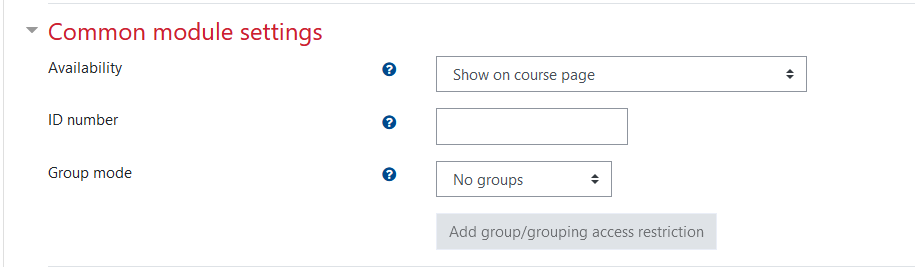
Common Module Settings
These settings relate to how certain activities and resources are displayed and/or made available to students in either groups or groupings. Establishing groups in a course is a separate process from that of creating activities groups will work with. Once groups have been configured in a course, they then need to be set for use on particular course activities, such as this one. Refer to the Setting up groups in your course for setting up groups.
- Select the appropriate group setting from the Common module settings if groups have been configured in your course.
Restrict Access
Restrict access options allow you to set restrictions on an activity or resource by date & time, or by conditions related to previous activities.
- Set conditions for activity completion as required. Refer to the Restricting access to resource and activity training page for setting up restriction criteria.
- Click Save and return to course to add the Journal activity to the course.
Viewing, Grading and Providing Feedback for Journal Entries
- From the course home page, click the journal activity.
- Click View x journal entries in the top right-hand corner to display all journal entries.
- The list of journal entries of each student appears on a single page.

- Student entries can be filtered by their First name, Surname or both. This feature will allow you to locate journal entries easily when there are a large number of students in the course. This can be invoked by the Sort By drop down in the right upper corner.
- Select a grade from the drop-down list when you are ready to assign grades, where applicable.
- Enter any comments and suggestions in the Feedback box.
- Click Save all my feedback to publish the grades and feedback to students.
Students will be able to edit their entries after you provide feedback unless you have made the activity unavailable to them.